
I am going to try and make a pizza oven !
Has anyone made one or know someone who has ?
1st. Not sure what to use and where. Vermiculite, perlite, brick or firebrick?
2nd. Is it better to use a form or a mould?
3rd. Is it possible with €150 to spend ?
Any advice most welcome !
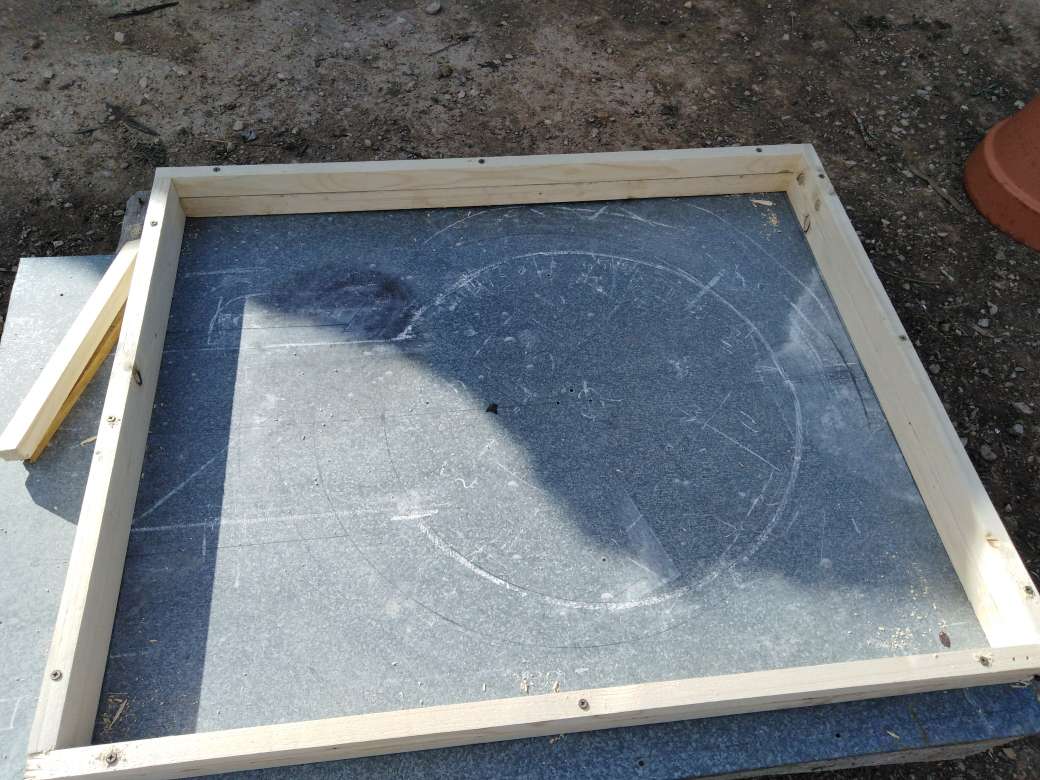
Concrete Base MK1
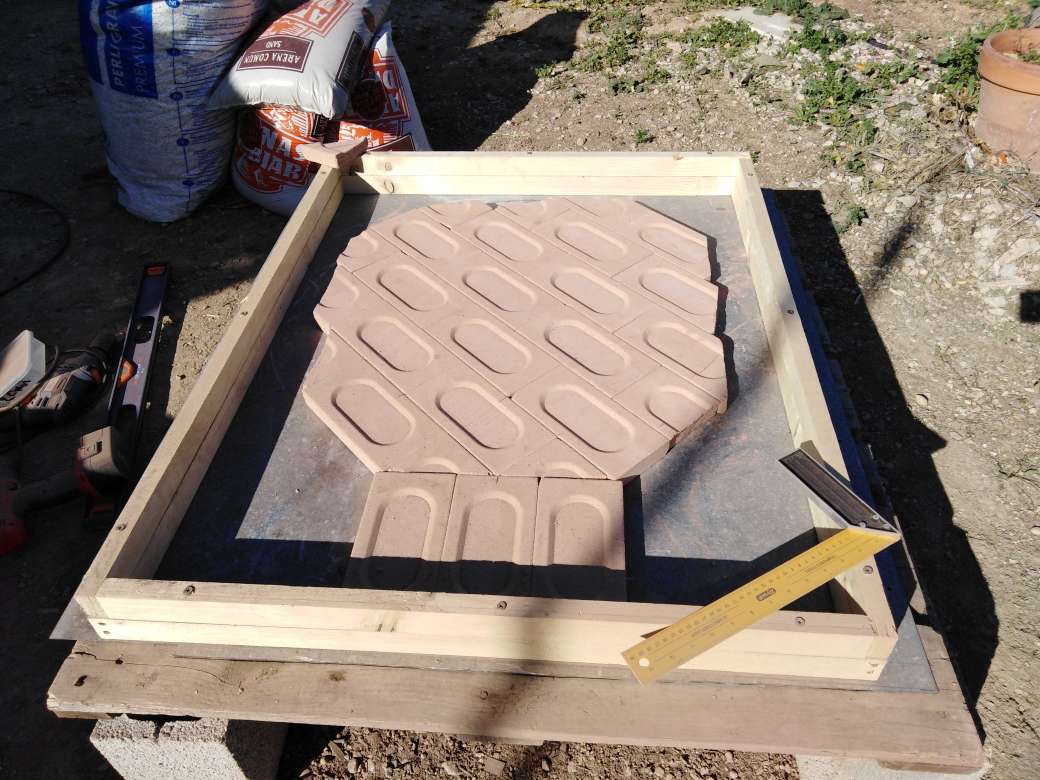
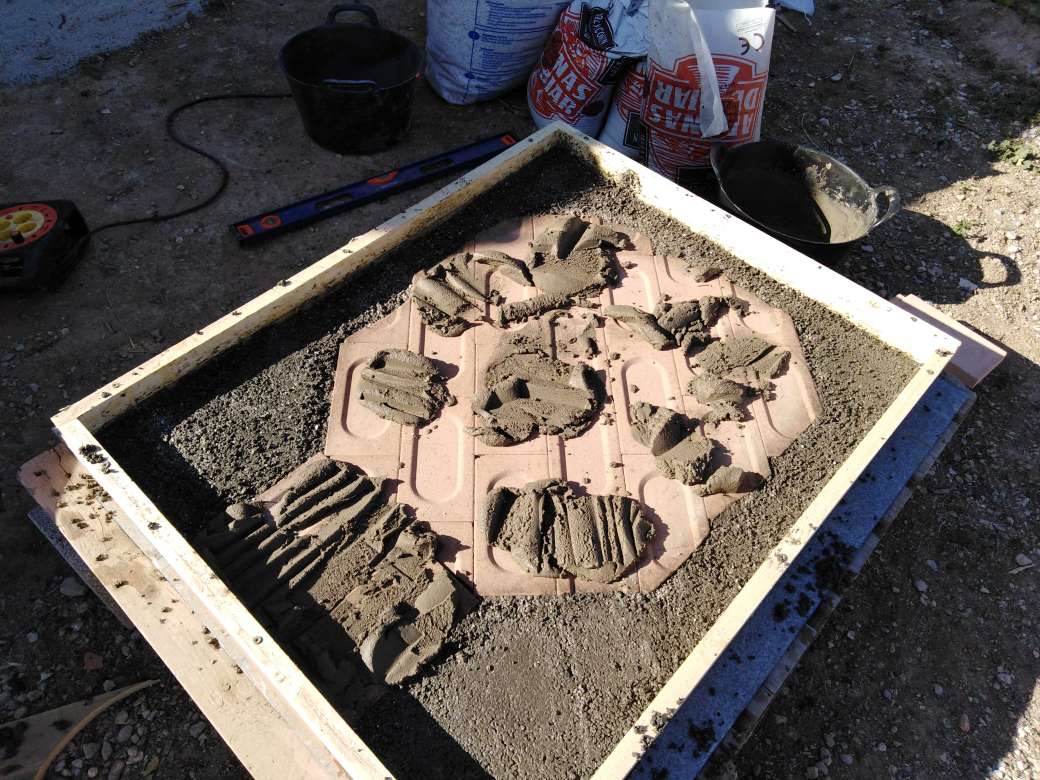
| Wooden mould for concrete base MK1. | Firebricks for oven base, reverse side of the bricks will be the surface. | |
 |
 |
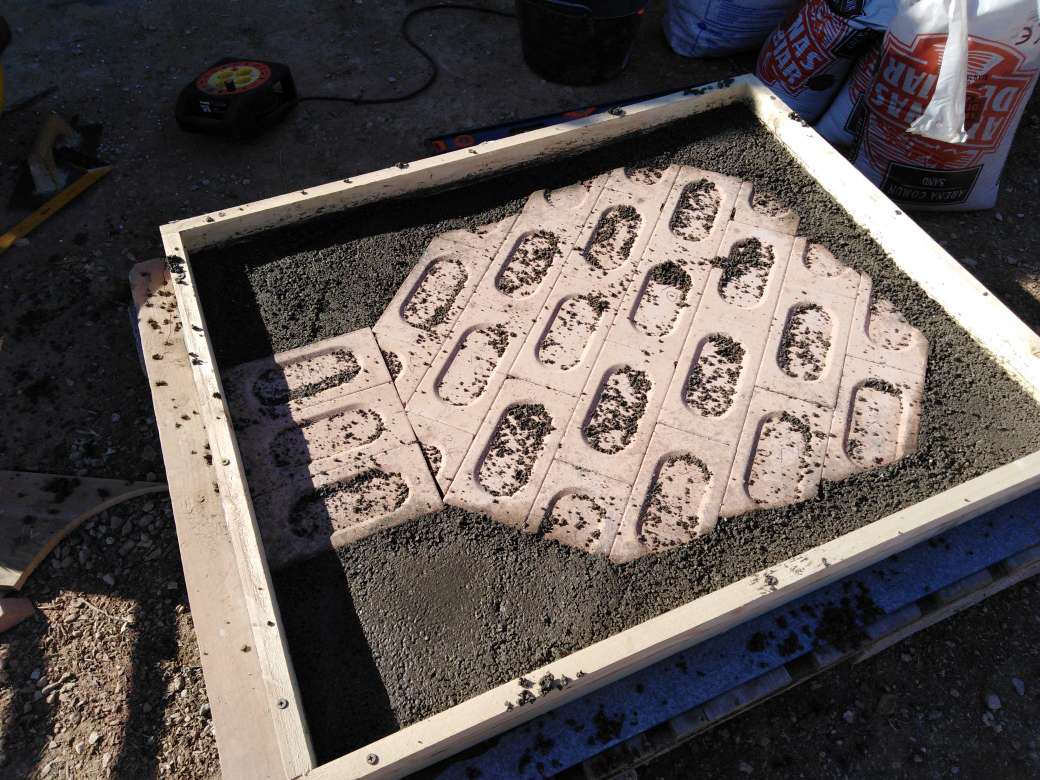
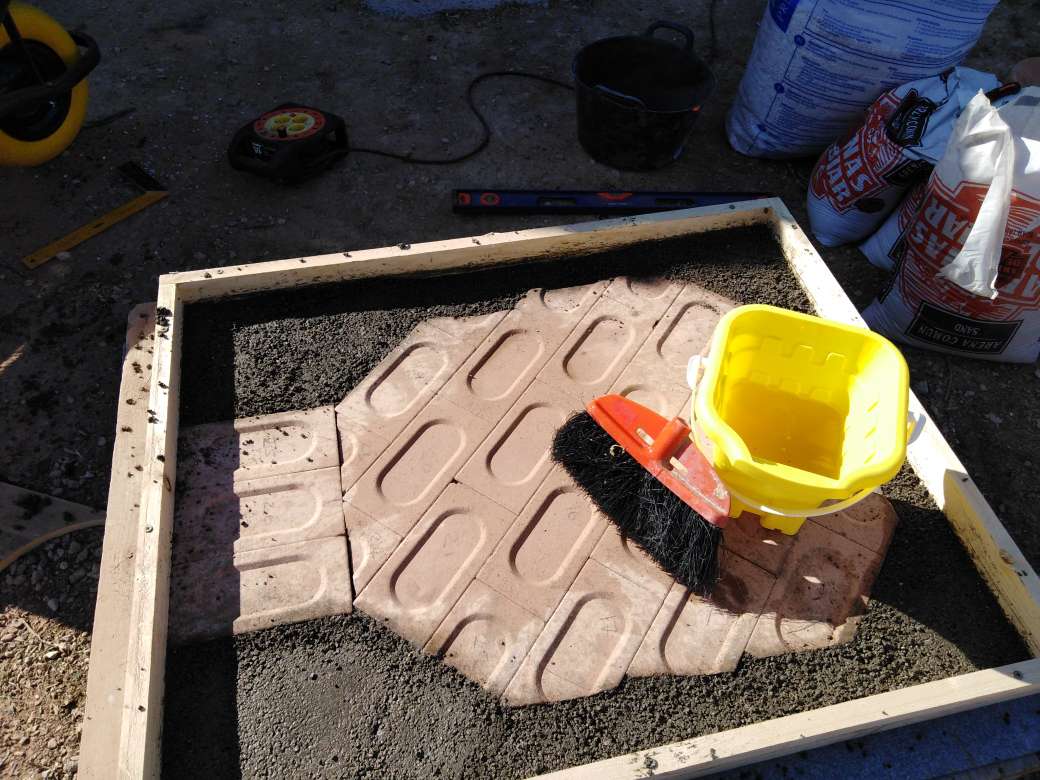
| Concrete mixture poured around bricks. | Firebricks and concrete after cleaning. | |
 |
 |
| Concrete Mixture to adhere to fibre board. | Fibreboard, rebar and concrete mixture ontop of fire bricks. | |
 |
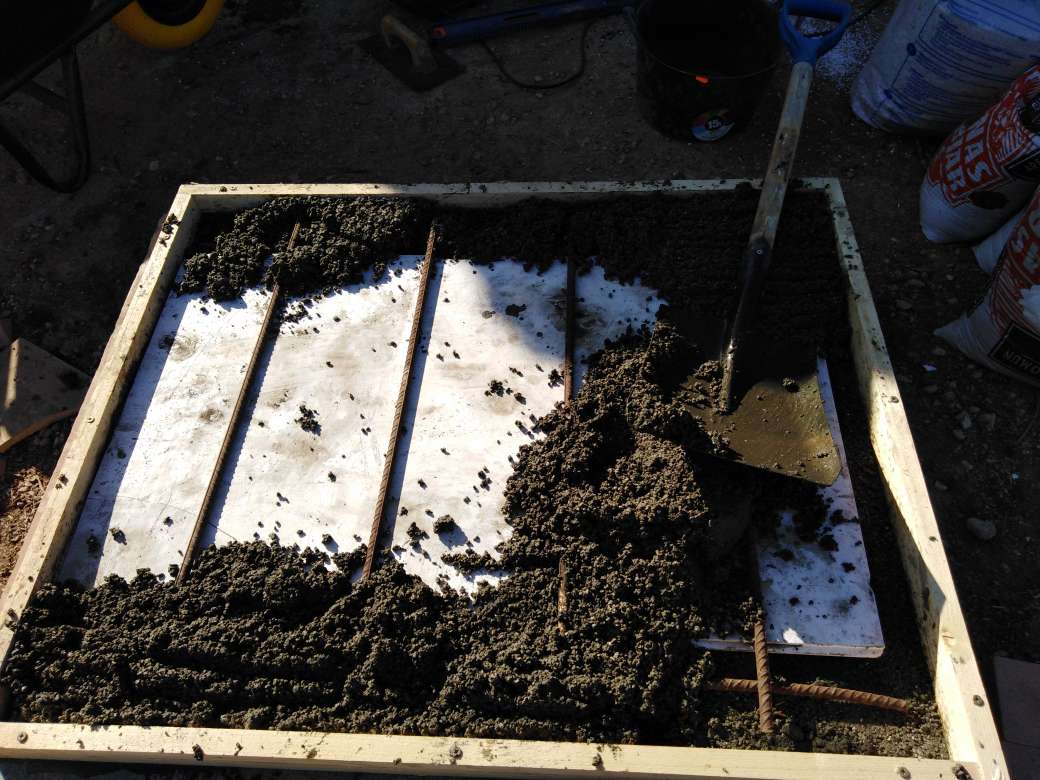 |
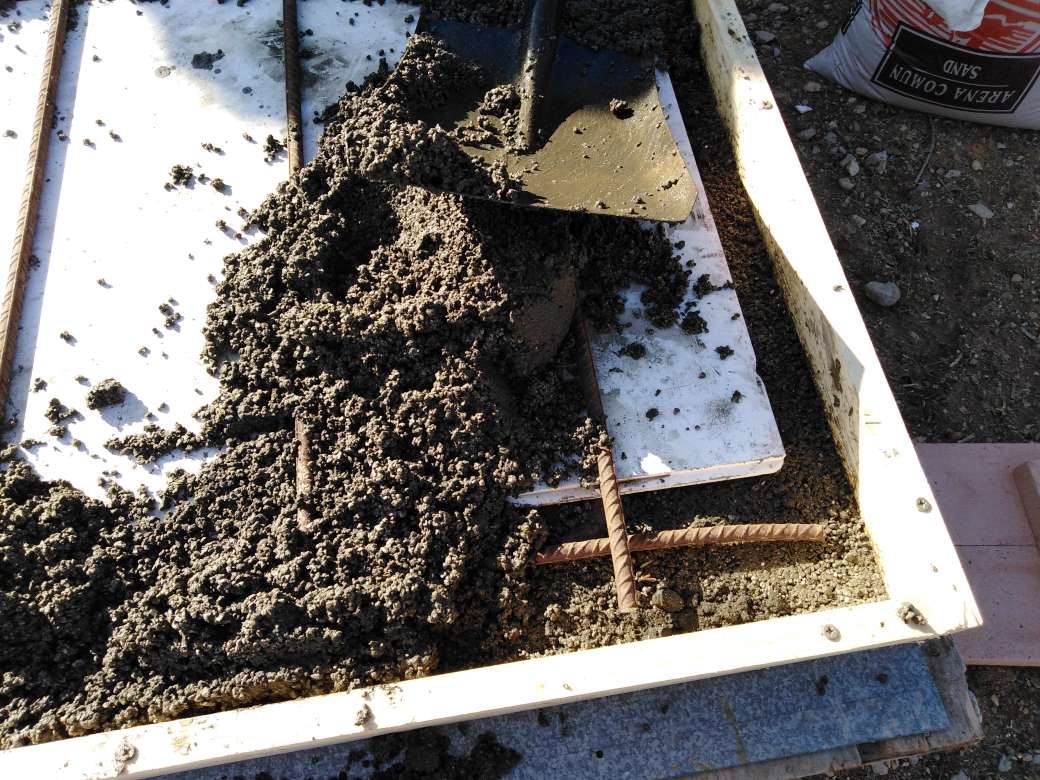
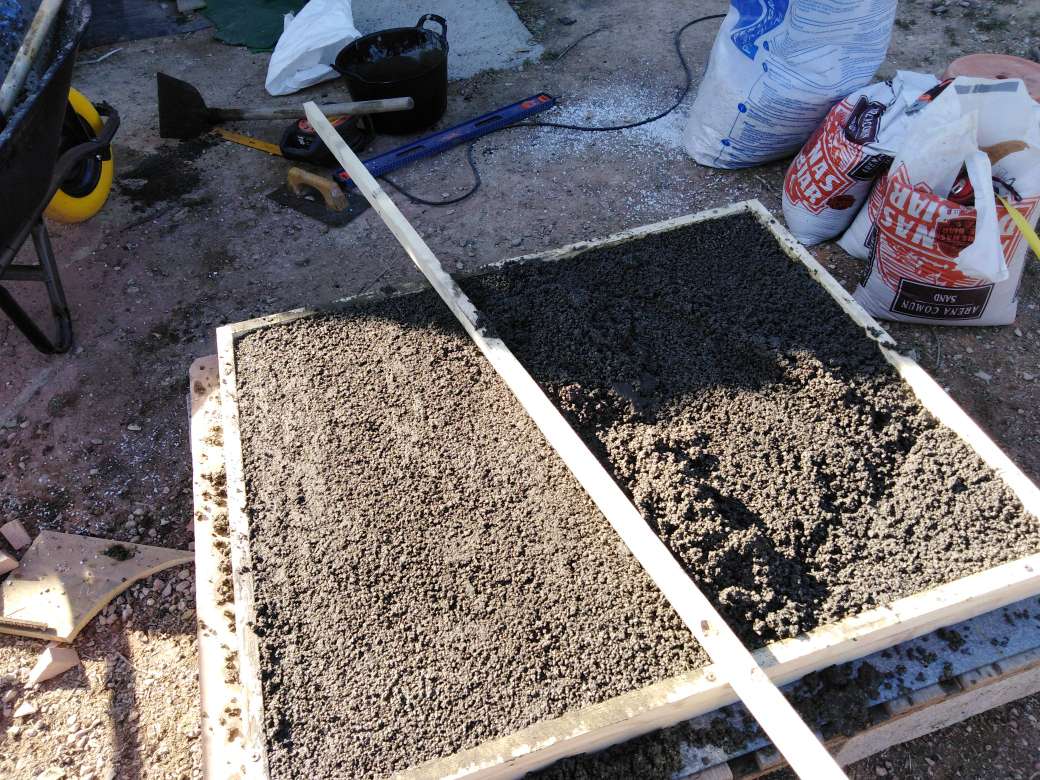
| Closer picture | Covering it all over and leveling the mixture. | |
 |
 |
 |
MK1 didnt to well
It fell apart when turned over |
Multiple Tests On Concrete
| Testing various concretes | Test bricks ... well hard. | |
 |
 |
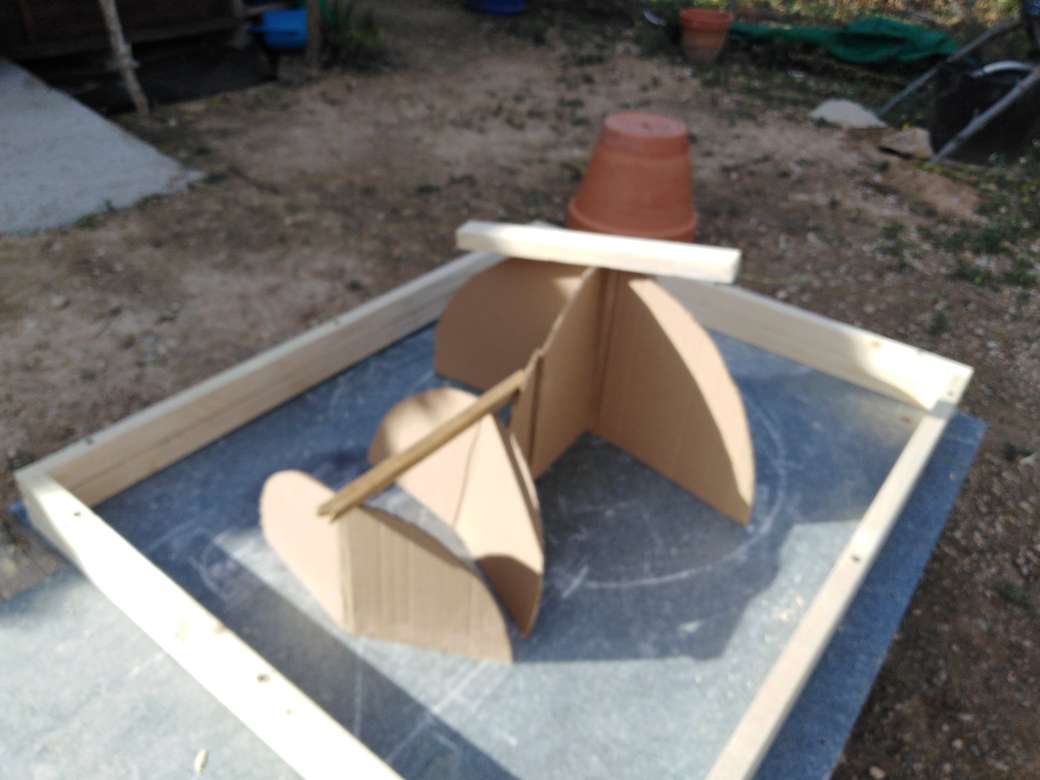
Moulds and forms
| Planning out the moulds and form. | Wooden form for making oven door section. | |
 |
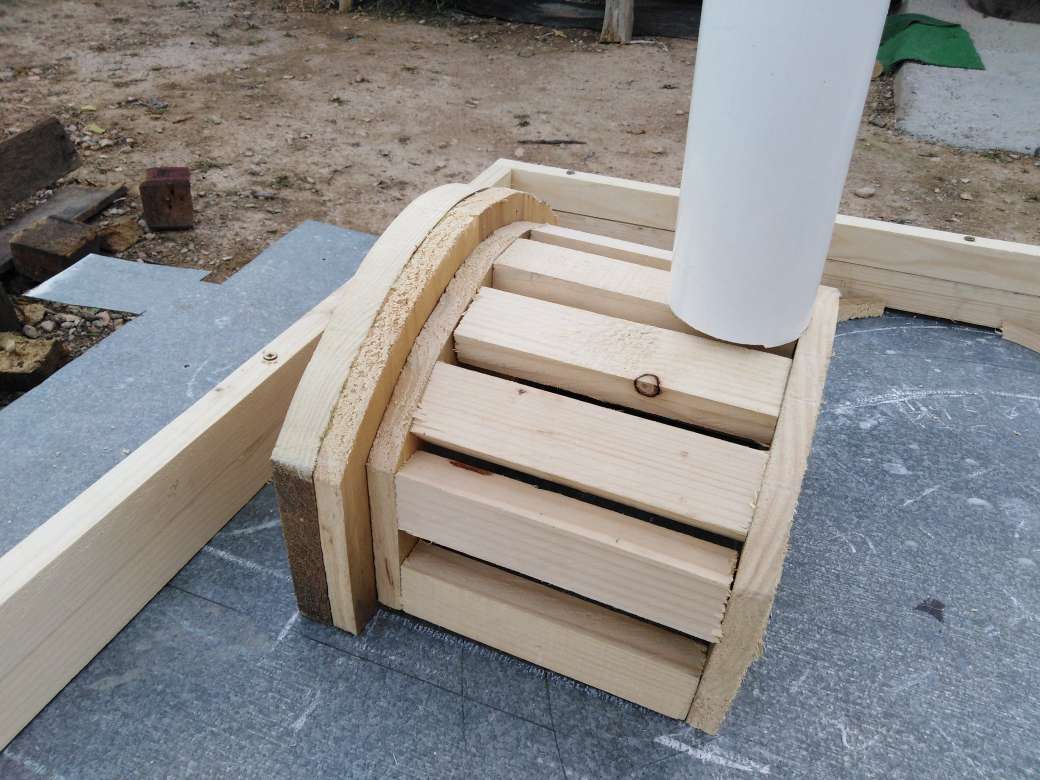 |
The wooden form almost complete with the flue pipe position.
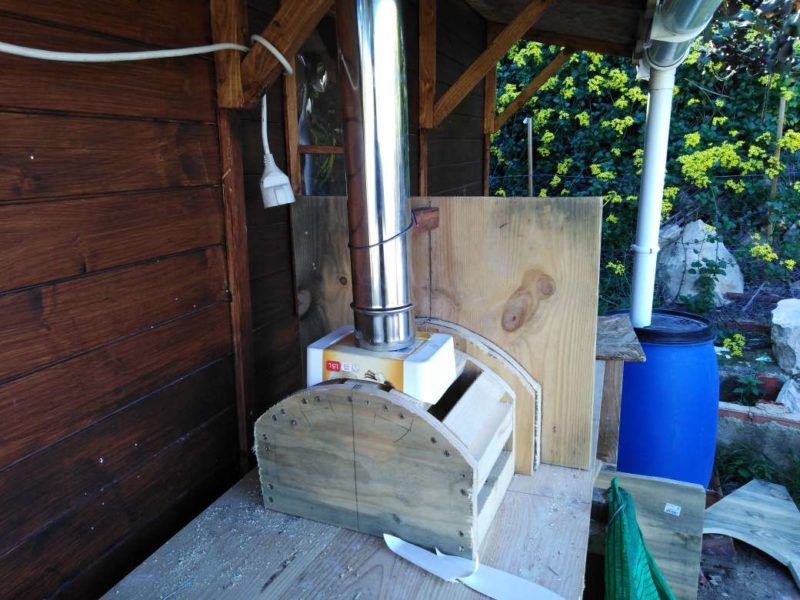
The Flue
 |
 |
A few bit and bobs to make a throttle valve for the flue.
 |
 |
| Unless you know better i sure this part is done.
The wooden support for the flue pipe is incorrect. It should be a deeper piece of board or two supports, so the flue pipe does not twist. |
 |
MK2 Base and Form
 |
MK2 built in the frame on the stand. After the MK1 failure due to inadiquate concrete mix, we reverted a more contemporary base construction. |
|
I also added another course of fire brick, so that the dome will will now sit on the fire brick, instead of the concrete base. I also also added pencil rounds to the form, hoping it would cast a brick effect arch. This did not work out too well do to the wrapping in cling film, as you can see in the next photograph. |
 |
Cling film was added to the form to aid the reslease, of the concrete later.
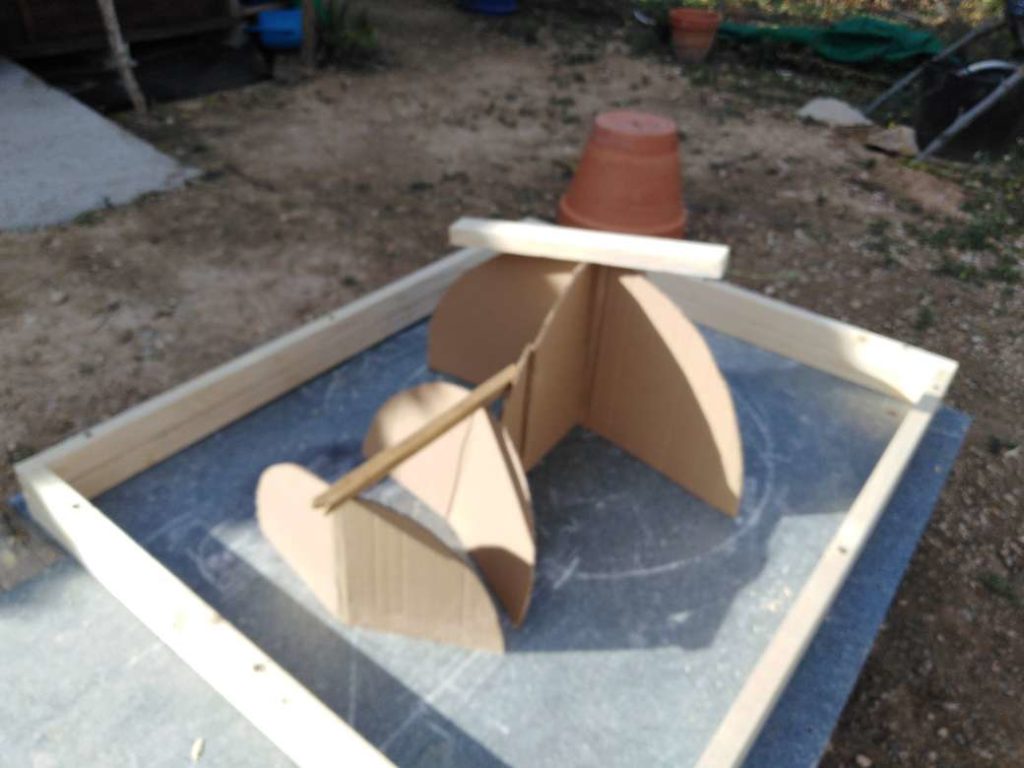
120kg of sand was built around a cardboard form, using he cardboard form as an guage to create an accurate dome.
 |
|
|
Rendering The Form
| 60mm of vermulite, sand and refractory cement concrete | Filling in any low spots ensuruing you have a 60mm coverage. | |
 |
 |
|
After allowing 3 or 4 days to dry, we slide the form, and dig out the sand and carboard, to reveivel 60cm internal surface with 30cm dome. Once its hot should have about 60 x 35cm cooking surface. |
 |
 |
Cover with 40mm of insulation and then cover chicken wire ready for the next coat of perlite render. |
Making The Door Out of The Form
 |
 |
Metal part of door screwed to wooden door and handle added after
 |
 |
Door positioned on oven, also provides support while drying
Mk 2 pizza oven MK 2.1 door
Sometimes you need to rethink things. I had to put the door in water to stop it caching fire. Then the oven got up to over 500oC, working with what I have on site I came up with the MK 2.1 cast door.
 |
 |
MK2 door constructed out of remants of old door.
 |
 |
 |
 |
 |
 |
 |
 |
 |
 |
 |
 |
Oven Fuel
 |
 |
Oven fuel arrives, this should keep the oven going 3 times for 2 years. We need to make sure the wood is properly seasoned, or we will never reach the temperatures needed.
 |
 |
One thing i found out along the pizza oven trip was not all fire wood is the same... if you want to get a good pizza you need to spend as much time on the wood as you do making the pizza.
Final Render Coat
| Just around the door to finish... and then tile. | The final render coat | |
 |
 |
| First coat of rendering added to the door arch. | Had to make a makeshift shelter, as the weather turned bad. | |
 |
 |
| "I have huffed and I have puffed, I cant blow your house down" said the pig to the wolf at stupid O'clock this morning i mounted a rescue mission. |  |
 |
Too cold for me now to do anything much at the moment my mission for today warm up and get a tarp to cover properly and then chill for the rest of the day... |
| At first light I took at quick look and covered it again. I think it is ok ! | Made a rain cap for the flue pipe. I have been hiding inside since... | |
 |
 |
| I set of yesterday afternoon to get tarps to cover the oven and the fire wood and the car would not start. After another night of rain and wind I got the car going, made it to the shops and back with tarps, another flue pipe, paint, a brush handle and lot of other bits and bobs |  |
Firing The Oven Up
I lit the 3rd little fire got the oven all the way up to 45oC i have to keep doing this about another 10 to 20 times slowly getting the oven hotter every time once it get to 240oC i am told its pizza cooking time....
 |
 |
| Made rain cover thing, well its will do for now, I can work with the cover up and pull it down when I not working. |  |
|
|
Finished the rendering around the door and made a pizza loading thing, from a bit of mettle and 2/3 of the brush handle will use the other 3rd to make I fire hook...
I found a few broken tiles which tomorrow I will cut and fit around the outside then give it a lick of paint.... |
| Tiles fitted, I only had a few broken once, so i had to patch up around the back of the dome, but you dont look at its ass when your poking the fire.... better rain cover and paint i think thats about it..... |  |
 |
oh yes cook a pizza .... does anyone know how to make pizza dough may be i should have look at that 1st. |
| Fired her up this morning with longer flue pipe fitted after a slow start she got upto 134oC captain, she held at 70oC for hours after.... it did not blow up, crack or anything, looks like the Mk2 is holding... i will light her again today, once it cools right down. |  |
Almost cooking time not everything in life works the way we plan it,, like paint I got from China R Us got the better one paid €9 for 500mls, only thing it wants to stick to is its self... but hey its only paint and if it does not stick, it not a big job to repaint..
 |
 |
 |
|
Fire lit and dome got to +260oC the top hit over 400oC its so hard to get a good reading, so I put an little bottle, I found in the door. I just started taking temp reading of the bottle and its at 120oC... |
 |
 |
I did not think it would get this high so just …. but I know why... its was the wood I got I was told its seasoned if it is it need longer... I dried the wood I used this morning by the fire last night... that's what did it simply drying the wood before I put in it the oven... next stop Pizza |
|
In Part 7 of the Mk2 pizza oven Pizza oven I went live. You can find the video on my Facebook wall. Will the oven hold 220oC ?? It sure did and at 5pm it was still at 180oC |
 |
Will the Pizza cook or just set on fire ???
I am surprised to say nothing set on fire.
Lit the oven at 8.40am by 9,40am at 230oC base mix started at 10am....
At around 12 noon I got high then started the live video and everything worked.... in 5 mins I got the best pizza in the world,, pizza to die for and flat bread
Homemade everything...
No photos of the pizza I eaten them but you can see the one in the video....
 |
 |
 |
I think its safe to say this has been a brilliant little project. Can you make a Pizza oven for €150, no you can not, but for €278 you can have 2 and a stand. Thanks everyone for the comments and like thingies. |
Materials and Prices Lists


THE END
 |
 |
It may not be the best oven in the world but it sure come with a view


0 Responses